

Building Dynamic NFTs with JavaScript
Building Dynamic NFTs with JavaScript
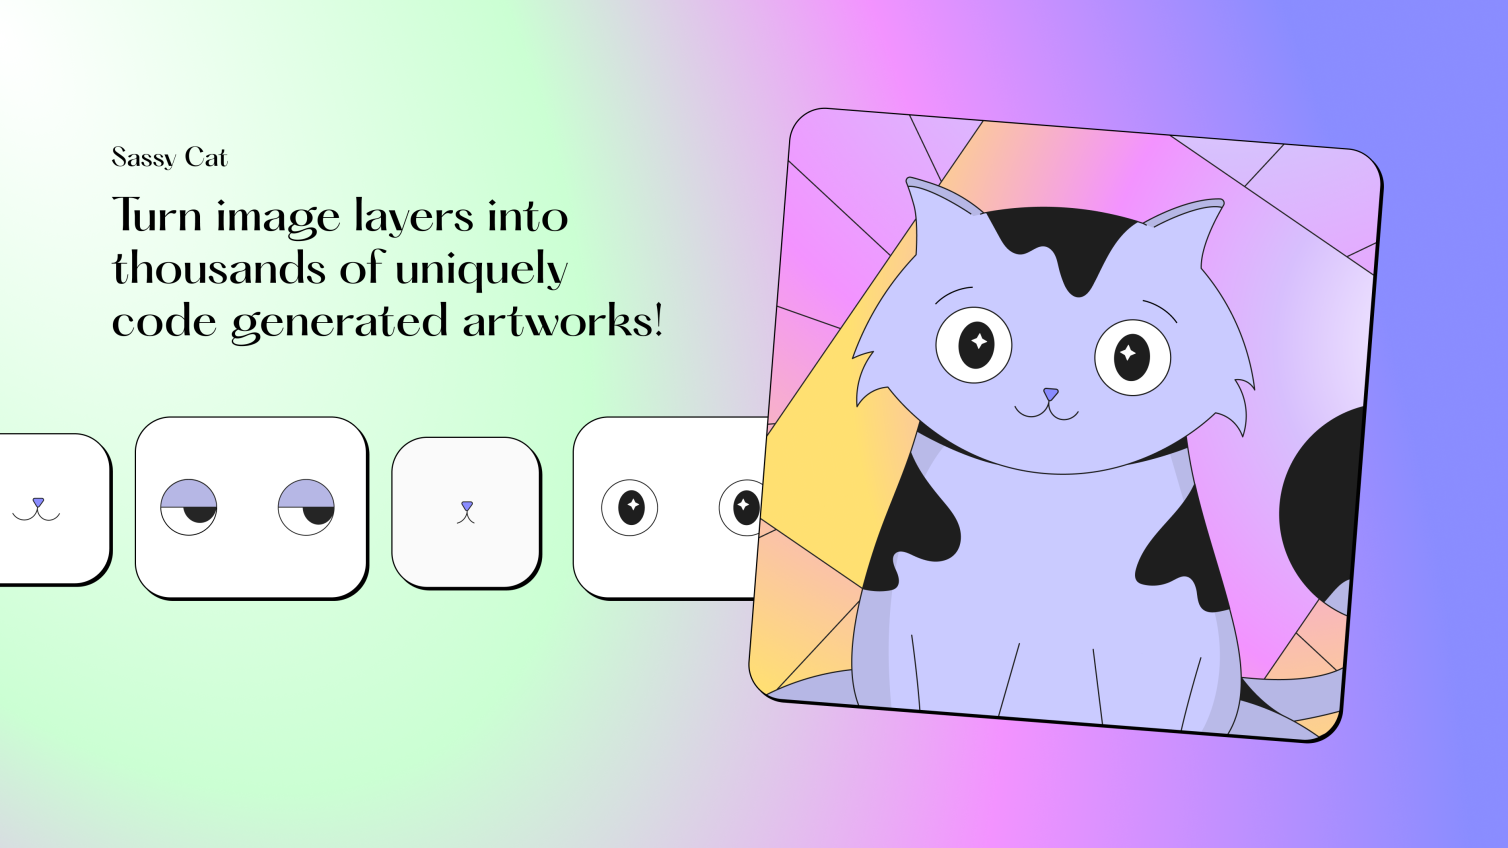
How to build your own dynamic image generation engine for dynamic NFTs

What are dynamic NFTs?
Dynamic NFTs - also known as dNFTs - are non-fungible tokens whose imagery and metadata are designed to evolve over time. While the digital asset stored on a blockchain may be represented with a static token, the associated imagery and traits can change for a variety of reasons.
The dynamic NFT space is still being explored but here are a few examples of how they can be used:
Reward community members based on tenure or engagement
Reward employees or organization members based on event attendance or contributions
Enable free or paid upgrades
Encourage social engagement (follows on Twitter, Instagram, etc.)
Pretty much any behavior that you want to encourage or reward can be incentivized through dynamic NFTs. There are so many possibilities!
How dynamic images work
Many NFT projects use generative art engines to construct a set of randomly or pseudo-randomly generated images. Art is deconstructed into separate assets or layers and then each image is assembled by applying layers on top of each other to produce a final image.
Need help with your NFT project?
IndieDAO offers professional services for app design, development, illustration, NFT projects, DAO products & tools, DAO & token design, and much more.
In this post we’ll use our favorite feline, Sassy Cat, to demonstrate how dynamic NFT images can be generated with JavaScript (TypeScript) and a few open source libraries.
Building a custom image generation engine
Let’s walk through how to build a custom image generation engine with JavaScript and TypeScript.
Code samples can be found in this repository, which you are free to clone or fork.
https://github.com/seanconnollydev/dynamic-nft
Node.js image processing with Sharp
Sharp is a high-performance image processing library for Node.js.
Another popular library is node-canvas, which might also work for your specific needs but we have found that Sharp performs much better, especially when working with large assets.
A very simple use of Sharp would be to create an image from a single asset. We’ll also resize the image to help get all of our elements aligned properly - Sharp makes this image transformation very easy.
// image.ts
export const generateImage = async () => {
    return sharp("./layers/Background/background_1.png").resize(1082)
}
The output of this function yields just a background layer. Not very interesting but it’s a start!

Adding layers with Sharp
The code snippet above actually returns a Sharp object that provides many additional image manipulation options including rotating, blurs, sharpening, etc.
For our dynamic NFT, we want the ability to conditionally add layers on top of the background we previously rendered. To do that, we must use the composite function.
// Call composite to add an additional cat layer
export const generateImage = async () => {
    return sharp("./layers/Background/background_1.png")
    .resize(1082)
    .composite([
        ...conditional(await cat()),
    ])
}

// This conditional function isn't necessary yet but it's helpful if you ever need to apply layers conditionally.
const conditional = (overlay: sharp.OverlayOptions | null) => {
    return overlay ? [overlay] : []
}

// The cat function loads a cat asset, which is added to the image output as a layer on top of the background
const cat = async (): Promise<sharp.OverlayOptions | null> => {
    const overlay = sharp("./layers/Cat/cat_1.png").resize(1080)
    const buffer = await overlay.toBuffer()
    return {
        input: buffer,
        top: 0,
        left: 2, // Slight offset applied to align the layer
    }
}
The output for this image now includes the background with the cat layered on top.

We can then add more layers by creating more functions and adding them to the composite array.
export const generateImage = async () => {
    return sharp("./layers/Background/background_1.png")
    .resize(1082)
    .composite([
        ...conditional(await cat()),
        ...conditional(await eyes()),
        ...conditional(await mouth()),
    ])
}
This is what the image looks like with all layers applied.

Conditionally applying layers
So far we’ve been able to apply layers statically, meaning the layers are always applied the same way regardless of system or user conditions. With dynamic NFTs, it is common to conditionally render elements based on user data. This can be derived from on-chain activities, a centralized database, external APIs, etc.
Since data sources will vary by project and are usually difficult to test, we will create an adapter interface called UserData, which will be consumed by the image engine.
// user-data.ts
export interface UserData {
  id: string;
  address: string;
  level: number;
}

export const getUserData = async (userId: string): Promise<UserData> => {
  // This is where you can map any user data to the UserData interface
  return {
    id: userId,
    address: "0x1234",
    level: 1,
  }
}
Note that we added a level property. Imagine this is a measure of a user’s engagement in the community. The more you contribute the higher your level!
Let’s reward higher level users with some sass. If a user reaches level 10 or higher, their cat NFT gets an extra sassy look.
// image.ts
export const generateImage = async (userData: UserData) => {
    return sharp("./layers/Background/background_1.png")
    .resize(1082)
    .composite([
        ...conditional(await cat()),
        ...conditional(await eyes(userData)),
        ...conditional(await mouth(userData)),
    ])
}
Note how generateImage now takes a userData argument and passes it through to the eyes and mouth functions.
const eyes = async (userData: UserData): Promise<sharp.OverlayOptions | null> => {
    const assetPath = userData.level < 10 ? "./layers/Eyes/eyes_1.png" : "./layers/Eyes/eyes_2.png"
    const overlay = sharp(assetPath).resize(560)
    const buffer = await overlay.toBuffer()
    return {
        input: buffer,
        top: 190,
        left: 234,
    }
}

const mouth = async (userData: UserData): Promise<sharp.OverlayOptions | null> => {
    const assetPath = userData.level < 10 ? "./layers/mouth/mouth_1.png" : "./layers/mouth/mouth_2.png"
    const overlay = sharp(assetPath).resize(338)
    const buffer = await overlay.toBuffer()
    return {
        input: buffer,
        top: 320,
        left: 345,
    }
}
Now we have two possible outcomes. With sass and without sass.

Testing with jest-image-snapshot
Dynamic image generation engines can get unwieldy quickly. Imagine your UserData interface grew to look like this:
export interface UserData {
  id: string;
  address: string;
  level: number;
  isTwitterFollower: boolean;
  isInstagramFollower: boolean;
  isLensFollower: boolean;
  isSlackParticipant: boolean;
  joinDate: Date;
  daoVotes: number;
  poapCount: number;
}
That is a lot more info to evaluate and offers many, many more permutations for how the image can be rendered.
As new data points and dynamic assets are added, unit tests can prevent regressions and keep you sane throughout the process. Rather than dreading another new asset type gets added to the mix, you’ll be excited to enhance the engine.
Unit testing image output would typically be challenging as there is no easy way to check if your cool new Sassy Cat asset was applied correctly when using traditional unit test expectations.
jest-image-snapshot is just the tool for a dynamic NFT image generation engine. You can feed it many different scenarios and it stores the output for each of them.
Here is an example:
import { generateImage } from "../image";
import { UserData } from "../user-data";
describe('image', () => {
describe("generateImage", () => {
it('should generate a default image', async () => {
const image = await generateImage(defaultUserData);
const buffer = await image.toBuffer();
expect(buffer).toMatchImageSnapshot({
customSnapshotIdentifier: "default",
})
});
})
});
const defaultUserData: UserData = {
id: "1234",
address: "0x1234",
level: 1,
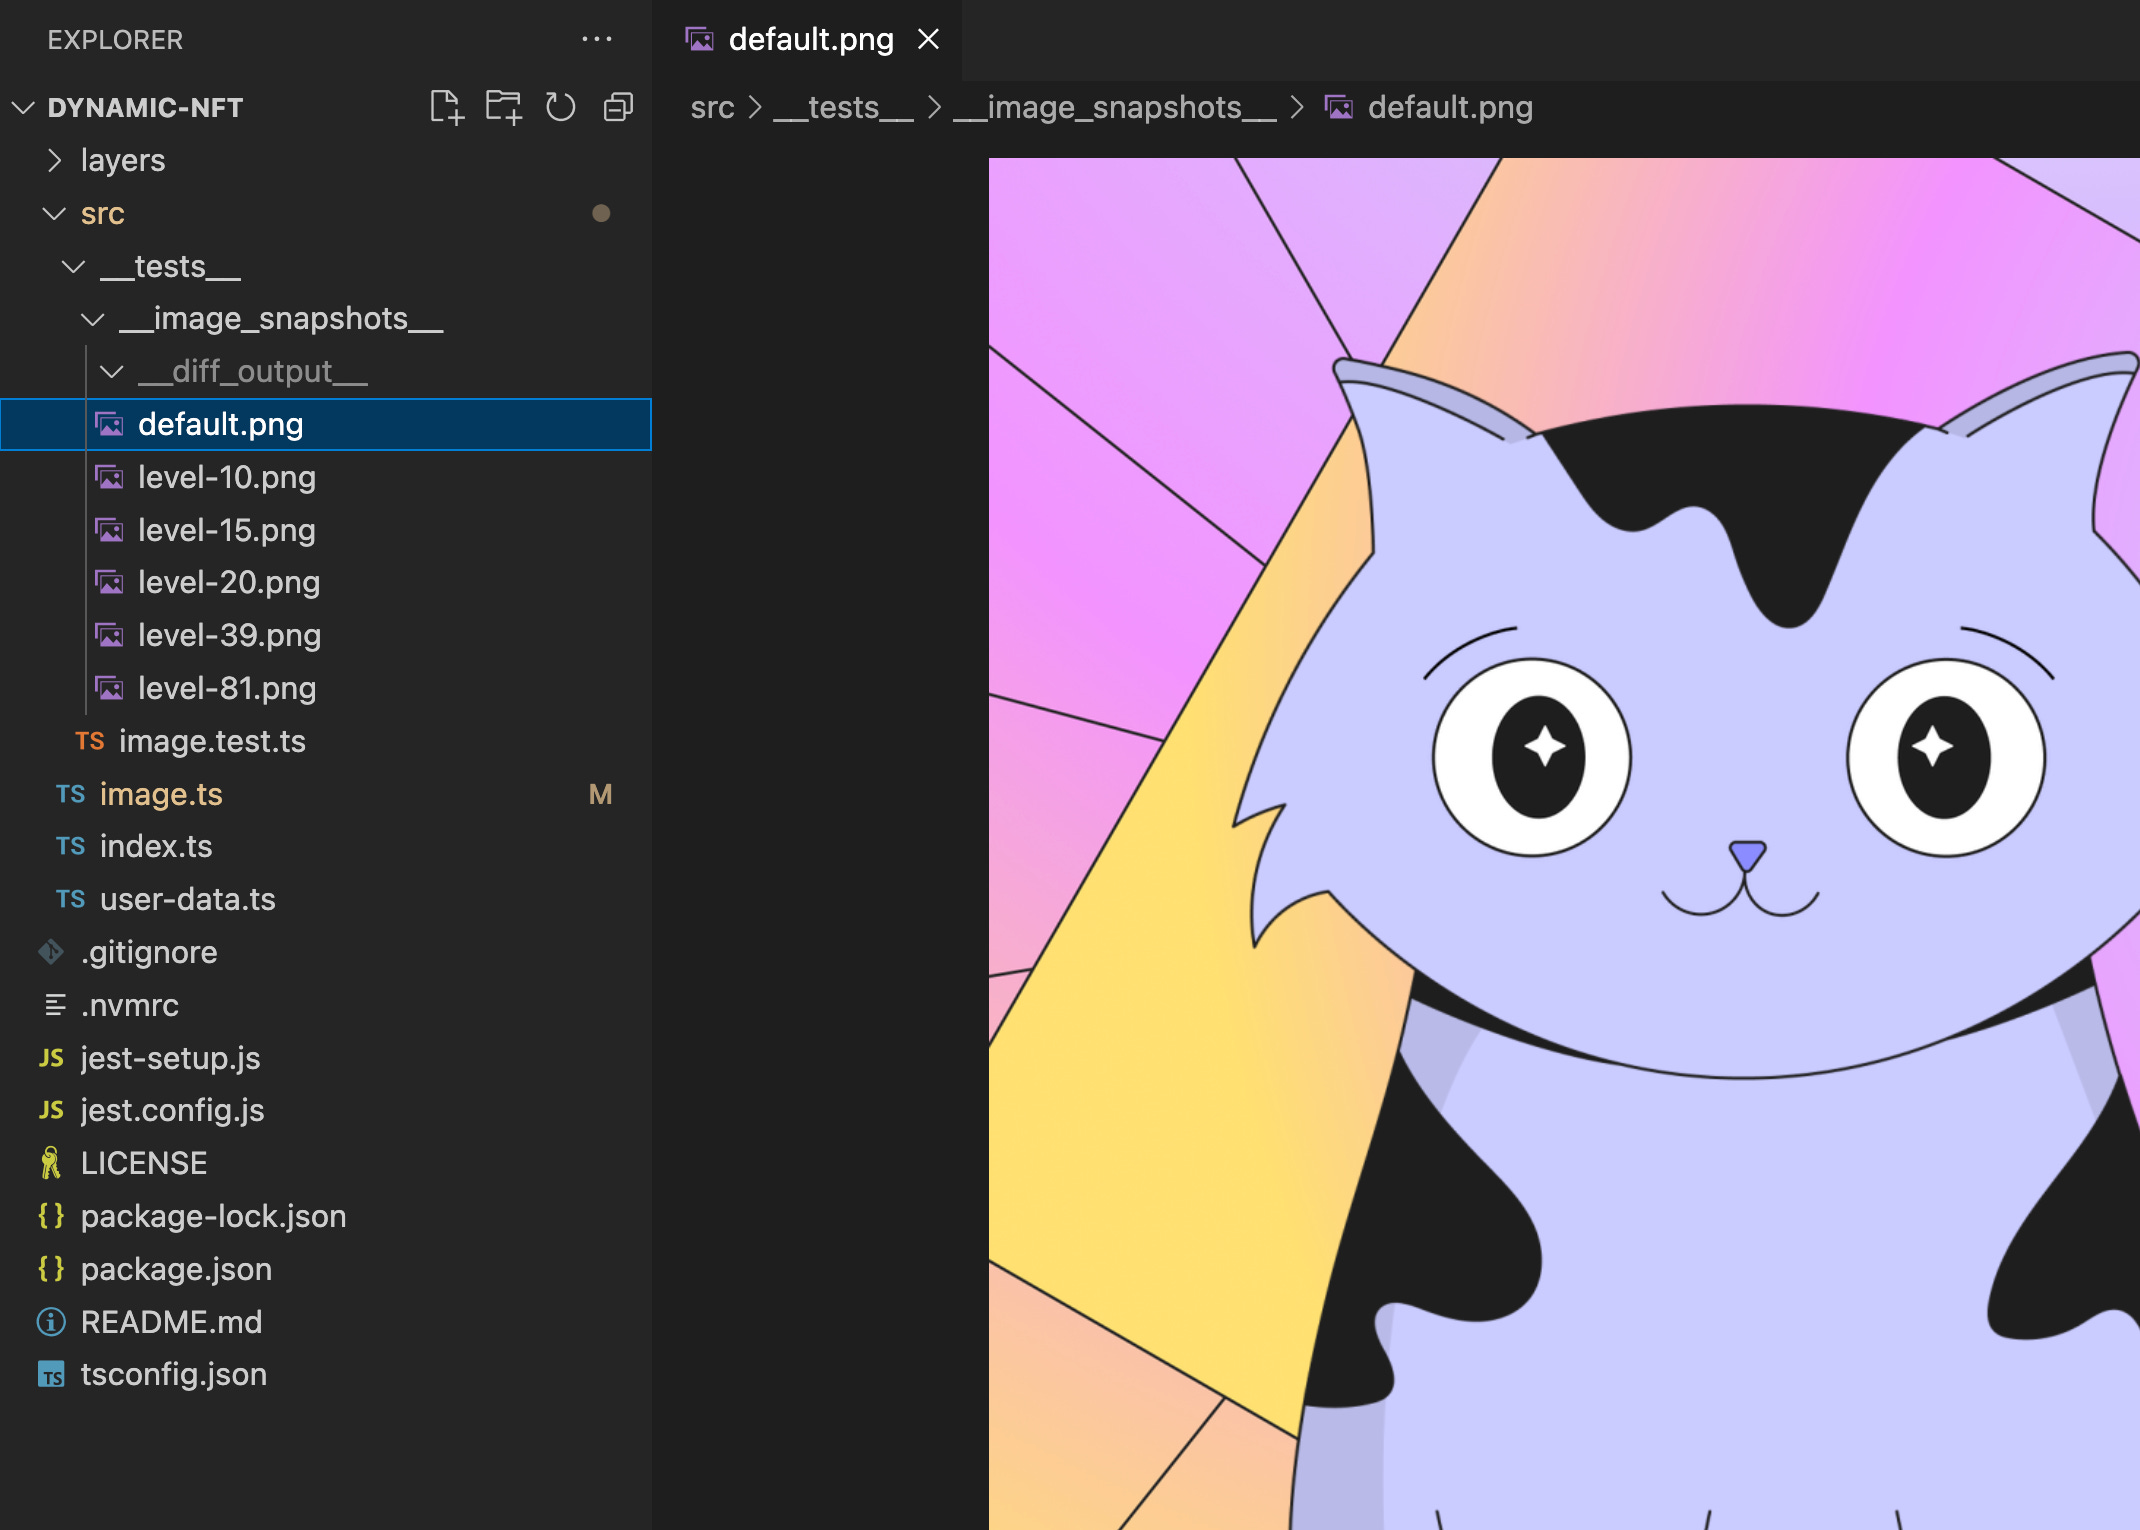
}If you run tests, you will see a new snapshot saved under __image_snapshots__.
Now let’s imagine we did something silly like swapped the order of the cat and eyes layers.
export const generateImage = async (userData: UserData) => {
    return sharp("./layers/Background/background_1.png")
    .resize(1082)
    .composite([
        ...conditional(await eyes(userData)),
        ...conditional(await cat()),
        ...conditional(await mouth(userData)),
    ])
}
First, you will see test error output like this:
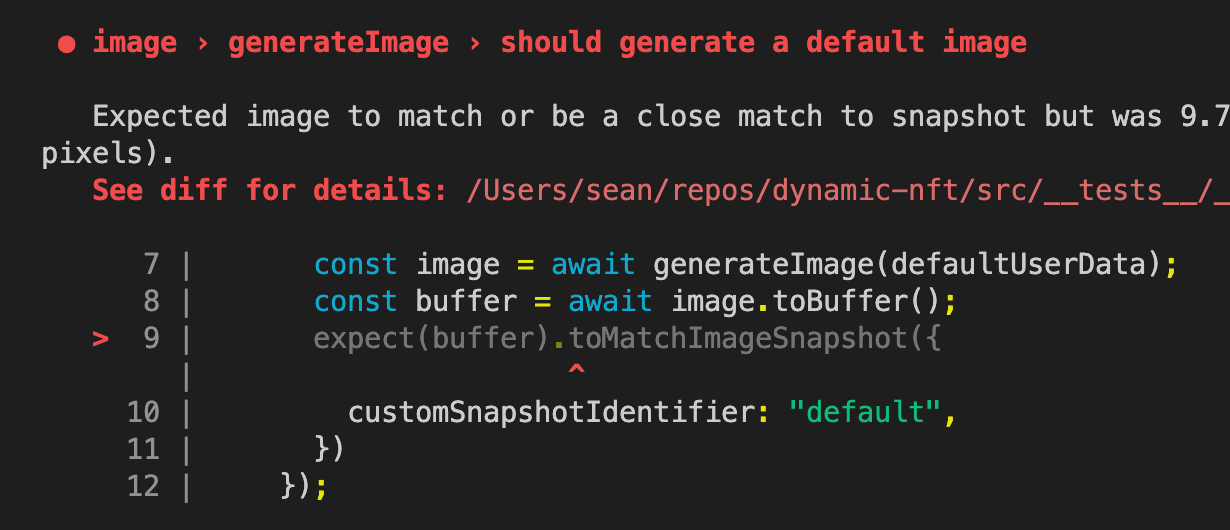
Then you will see a new file stored under __diff_output__ that shows you exactly what went wrong.

On the left is the original image. In the middle is an overlay that shows changes in red. On the right is the new image output, which is missing the eyes because the cat was layered on top of them. Whoops!
If you do happen to make a change that you want to keep. For example, you added a new layer that should be applied in all scenarios or maybe you fixed a bug with a previous scenario, you can simply run npm t — -u to update image snapshots and get your tests passing again.
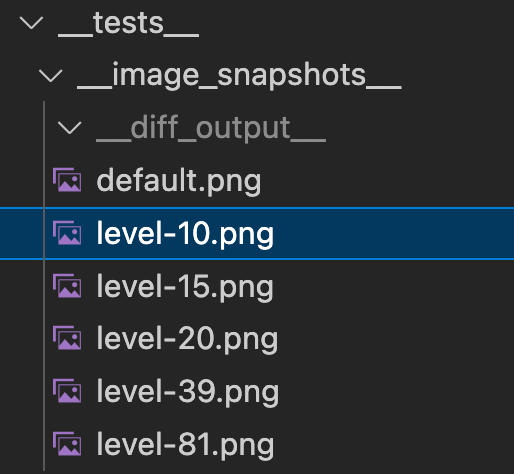
Lastly, sometimes you want to run the same scenario multiple times with different values. Going back to the “All users level 10 or higher get the goo” feature, we can test multiple levels by using Jest’s it.each option.
it.each([10, 15, 20, 39, 81])('should get sassy when user is level 10 or higher', async (level) => {
  const image = await generateImage({
    ...defaultUserData,
    level,
  });

  const buffer = await image.toBuffer();

  expect(buffer).toMatchImageSnapshot({
    customSnapshotIdentifier: `level-${level}`,
  })
});
You’ll now have snapshots for each sub-scenario. If one of them happens to change, you’ll know about it!
Wrapping up
As teams find more and more ways to offer dynamic NFTs for their communities, we hope this guide offers a few best practices that help you build some amazing experiences.
We’re here to help! Reach out to Indie if you want to collaborate on a project ❤️